When I bought my first DSLR, I read the manual from cover to cover. I used to carry it with me whenever I was out taking photos.
It was a great way of learning to use my camera but doing this on my own left me with the wrong impressions. I interpreted certain things in completely the wrong way.
These wrong impressions led to embarrassing mistakes.
Now you might be asking, “So, how do you become a good beginner photographer?” Read on to avoid 18 common mistakes that every beginner photographer makes.
 [Note: ExpertPhotography is supported by readers. Product links on ExpertPhotography are referral links. If you use one of these and buy something, we make a little bit of money. Need more info? See how it all works here.]
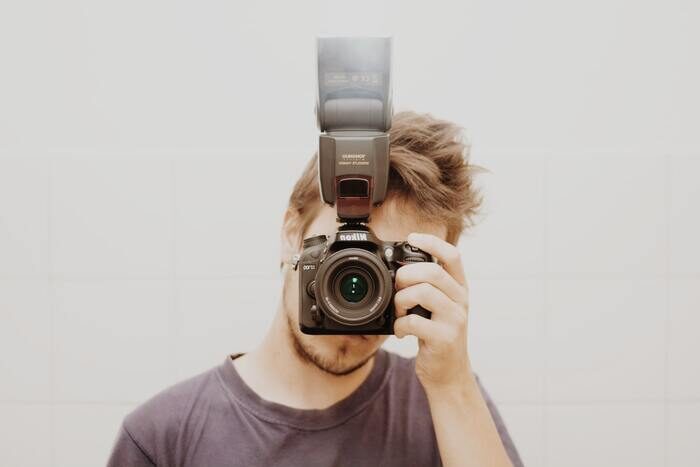
18. Never Using Flash
If you play around with your pop-up flash, you’ll see why I made this choice. Whenever challenged, my reasoning was ‘I don’t like flash’.
The pop-up flash produces a harsh and flattening light that falls directly onto the subject.
I had no idea of the potential of the camera flash. I just needed to use an external flash, preferably off camera.
One day, a photographer I knew and trusted convinced me to buy an external flash. A world of opportunities opened up for me. It was the Canon Speedlite 430EX II.
17. Constantly Setting The Wrong Focus Mode
One thing you can’t fix in post-production (yet) is your focus.
That’s why it’s so essential to get this right in the camera. Often, time can be of the essence.
Have you ever noticed your camera constantly trying to refocus when you’re shooting a still object? Or that your camera won’t track the focus of a moving object? It’s because you were on the wrong focus mode.
Super frustrating, I know.
Read our article on focus modes. You’ll get a much better understanding of how to fix that annoying problem.
16. Using the Wrong ISO
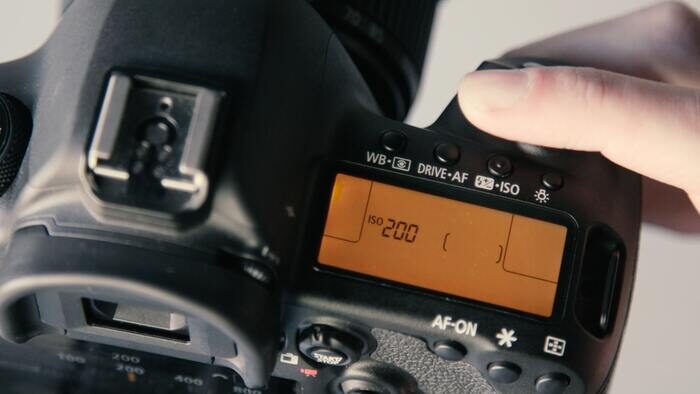
When I first went through my camera’s manual I learned that, the higher the ISO, the more the digital noise. Therefore, I figured, the worse the image quality.
So, naturally, I always tried to keep my ISO as low as possible, often around 100-200.
Guess what?
A ton of my photos was underexposed.
When I did boost my ISO to figures in the region of 1600. I would forget and take photos in bright sunlight with it still set there.
It’s easy to forget small details like this when you’re starting out. A little practice goes a long way in helping you to remember to check your camera.
The truth of the matter is that ISO is neither bad nor scary – it should be embraced.
A high ISO can be used in all kinds of situations, even when using a flash.
15. Always Shooting in JPG
Listen, if you’re still shooting in JPG, pick up your camera now and switch it to RAW.
The image quality is far superior. And it allows a much broader set of options when it comes to post-production.
When you shoot in JPG, your camera applies the white balance, sharpening, saturation, contrast and compresses the image.
Just trust me on this one.
A popular complaint from people who “don’t like shooting in RAW” is that the file size is much larger and they don’t have enough hard drive space. External memory is so cheap these days. There’s really no excuse.
14. Not Learning About Bulb Mode
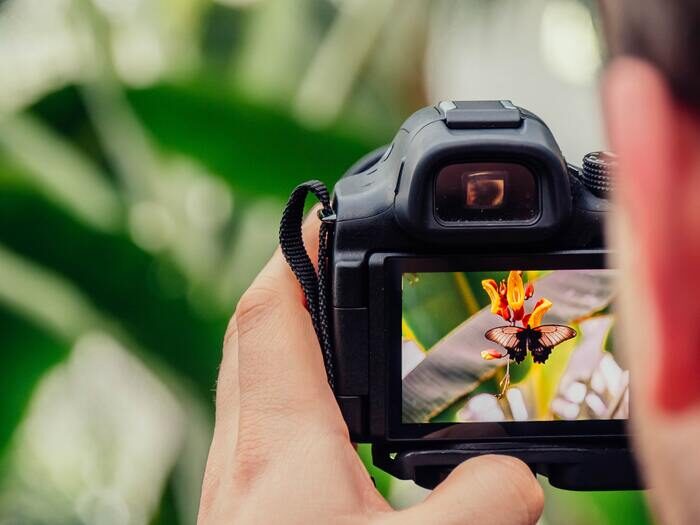
I knew what ‘B’ did on a film camera but, when I saw it on my digital, it never really clicked (literally!).
For those of you who don’t know, bulb mode allows you to take a photo for as long as you hold down the shutter release button (best done with an external remote).
No longer was I restricted to photos taken for 30 seconds or less.
This is useful for slow sync flash photography as it allows you to essentially customise the exposure length, making it whatever you feel like.
13. Never Backing up
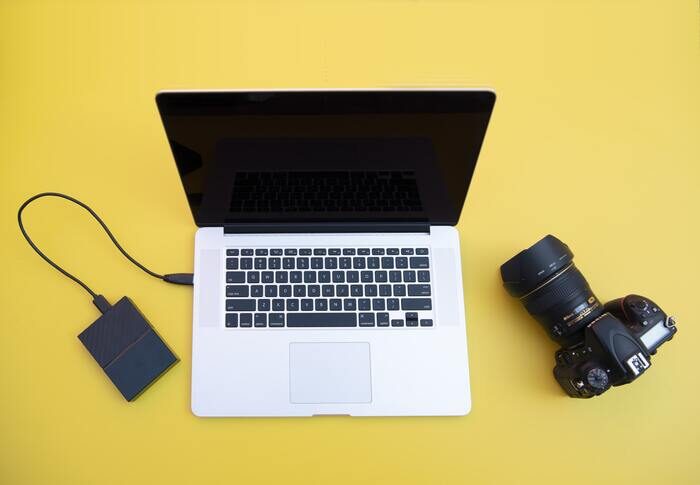
This is probably one of my most embarrassing confessions. I was one of those poor stupid people who didn’t back up, and I lost all of my photos to a hard drive failure.
My photography was nowhere near as good as it is now. Looking back, it wasn’t as terrible as it felt at the time but it still really sucked.
Now my backup workflow is much more refined. You can read more about how I do it here.
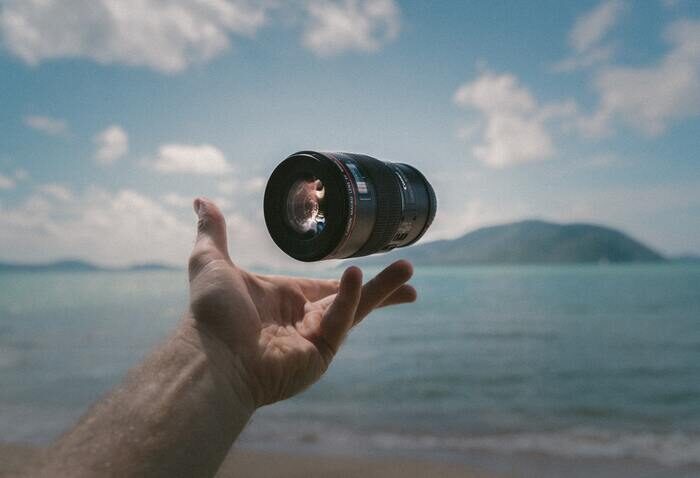
12. Choosing the Wrong Lenses
I remember seeing an advert for an 18-250mm lens by Sigma. I immediately thought that was exactly what I was looking for. No more of this changing lens business that I’ve been putting up with!
I guess this was before I learned about image quality, haha.
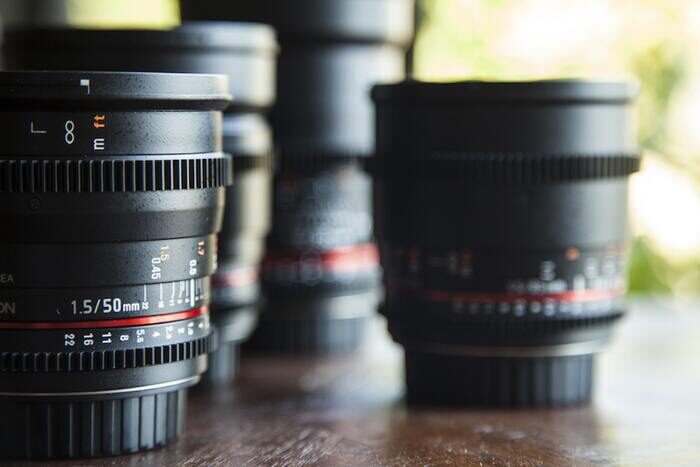
A fixed 50mm lens might seem like an unusual choice. But, when you understand aperture and optics, it’s clearly the right one.
As a fixed lens only really has one job to do, it does a very good job of it. A lens like the one mentioned above has to zoom through a ridiculous range, compromising on image quality. Sort of a ‘jack of all trades, master of none’.
This lens is on my list of ‘Top 20 Essential Camera Gear‘ and I couldn’t recommend it enough for beginners: Canon EF 50mm f/1.8.
It’s worth mentioning that I use much better glass these days but, for a hundred bucks or less, I think it’s a fantastic investment.
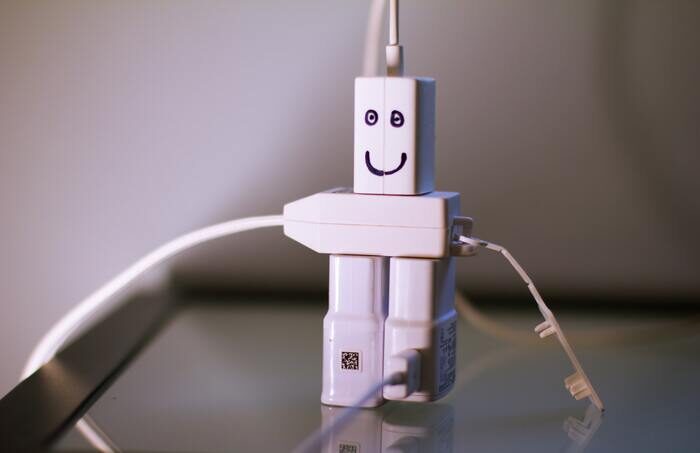
11. Transferring Over USB Straight From the Camera
I honestly couldn’t believe what I’d been missing when I bought a CF card reader for about £3 – the speed difference was shocking.
All this time I’d been transferring photos over a USB lead, experiencing slow transfers, wasting my battery life and experiencing cut-outs during the transfer.
If you’ve got a newer beginner SLR, you’ll probably find that the camera takes SD cards. You may as well have an SD card reader built into your laptop. You have no excuse not to use it.
10. Messing up White Balance Accuracy
When I was a beginner photographer, I sort-of understood white balance, but it had never been explained in the proper way. It was just what I could pick up from my camera manual, using words I didn’t understand.
I would almost always have my camera set to AWB (Auto White Balance) which resulted in wildly inaccurate colour accuracy, especially when I took photos inside. In tungsten light, all of my photos came out orange.
When you start to get your white balance right, you’ll cringe at some of your old photos.

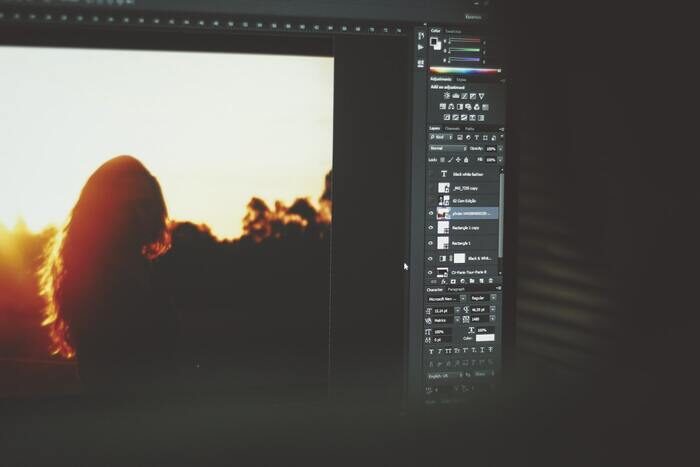
9. Using Free Editing Software
This is somewhat of a sin in photography. I was managing my library in iPhoto, which was ruining the photos when I went to edit them.
Whenever I straightened a photo, it would automatically lose image quality, appearing much less sharp.
Ditch your free software and purchase Adobe Lightroom. You can also check out our full article on fixing common editing mistakes.
8. ‘Investing’ in Cheap Photography Products
Ergh, this one still annoys me.
I was so tempted to buy a good selection of tripods, lighting modifiers, accessories, etc. that I would end up buying the cheapest available. And even though it seems good value, when the gear eventually arrived, it was never really up to scratch. In fact, it tended to break pretty quickly.
I would end up buying the same thing twice. First, the cheap version, and then the expensive, good quality version which I had put off the first time.
To stop you from making the same mistake, I’ve put together a selection of recommended photography gear for you to browse. This probably sounds like a sales pitch, but just trust me on this one.
7. Holding Your Camera Poorly
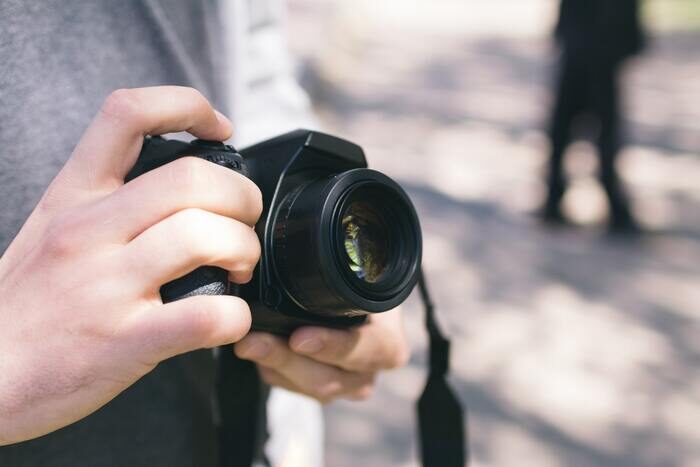
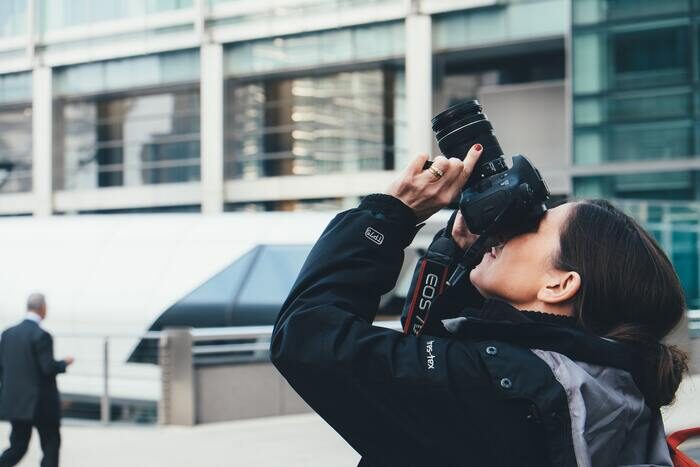
You never really realise how useful holding your camera correctly can be. Especially when you need to keep still in low light.
Just by learning how to hold my camera correctly, I stopped my fingers from getting in the way of the lens. I would also feel much more secure in holding my camera. This would allow for slower shutter speeds, which can come in really useful.
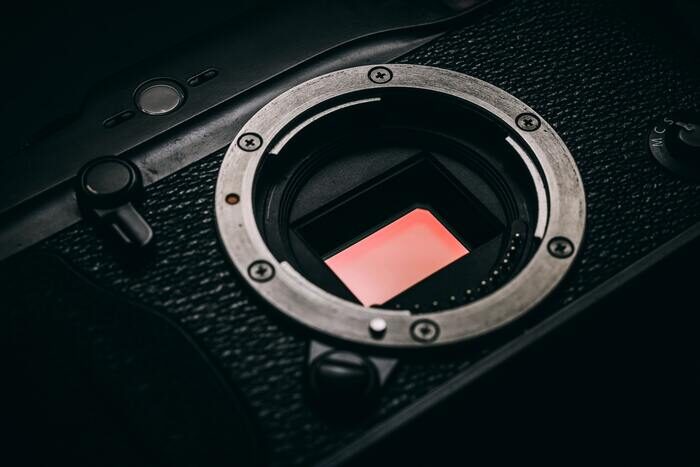
6. Not Cleaning the Camera’s Sensor
You may not even realise how dirty your camera sensor is, so before you go any further, I want you to test it.
Pick up your camera, and point it at a clean, plain part of the wall. Then turn your ISO up (to allow for more exposure), and narrow your aperture. Take a photo, and because you have a narrow aperture, you will be able to spot any dust lurking around.
Ask other photographers to help you. Don’t take it to a shop as it will take a lot longer, and cost more.
In the meantime, buy this blower to help remove sensor dust.
5. Not Having a Proper Workflow
Here’s how I used to import my photos.
If I went to take photos on Brighton beach, the folder would be called ‘Brighton Beach’. The filename would be ‘Brighton Beach’, followed by a number.
Not anymore.
The folder name always has a month/year after it now. If I take a photo on the beach now, the folder is called ‘Brighton Beach 10/12’. But much more important than that though is the file name. Let’s have a look at what I do.
Custom Name_Date_Sequence
I also apply my own copyright information onto it too, during the import.
This way, whenever I need to search for a photo, I can find what I’m looking for, and if someone sends me a photo back, I know where it’s come from. It’s good practice for your file management.

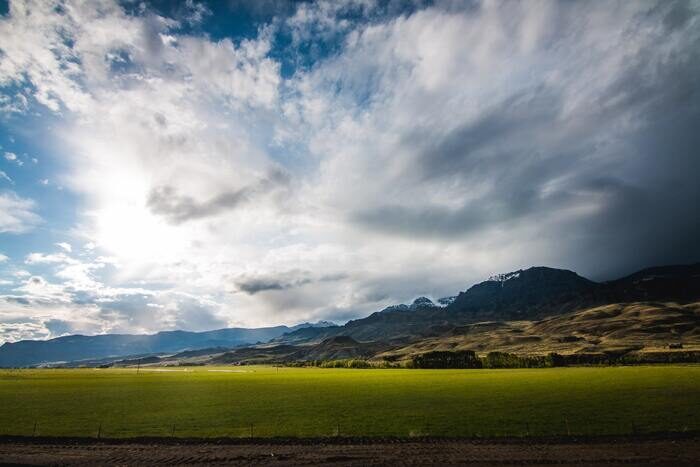
4. Waiting for the Weather
This is such nonsense. It’s just an excuse to not get up and take photos.
Waiting for the weather is when you want your scene to have very specific conditions before you take a photo.
In reality, you can’t rely on the weather. You would do much better if you learned to adapt to the conditions you have.
3. Only Ever Shooting From Eye-Level
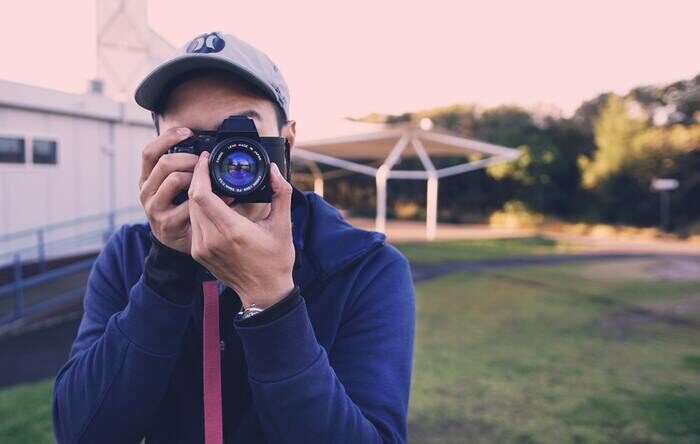
I’m 6 foot 3, and I tower over a lot of people when I take photos. This can have a pretty negative effect on my photos if they’re always from the same perspective.
When you can start to consider different angles that you can take photos from, you’re going to produce far superior results.
Try to aim for a mix of perspectives!
2. Only Shooting in Manual Mode
But Josh, professional photographers only ever shoot in manual mode?
Rubbish. Completely not true. Some may, but the majority don’t.
It’s great (and essential) to learn manual mode, but the truth of the matter is that I probably only use it about a third of the time. The rest of the time, I’m on aperture priority, or shutter speed priority mode.
- Manual is great when you want to take full control over your photos, and has loads of uses.
- Aperture priority mode is used when you know that the most important factor is the aperture (perhaps because you want a certain DoF or sharpness), and the shutter speed isn’t so important.
- Shutter speed priority is for when you know your shutter has to be a certain speed. For example, when you’re shooting in low light, or a fast-moving object.
A lot of the time when you’re shooting in manual mode, you’re doing something that a priority mode would have easily done for you.
1. Reaching a Creative Roadblock
When you take photos often, it’s not uncommon to reach a creativity roadblock, where your mind stops coming up with new ideas.
You may even start to hate your own photos.
This is no good.
Whenever I get stuck, I look at my photos. I share my photos. And I enjoy my photos. That usually stops me from hating them again, because you start to see why you like them.
When I want to find inspiration, I go for a walk. Only I leave my camera at home. Start walking and look for photographic potential in everything.
Don’t run your inspiration into the ground. You want to make photography fun!
Common Questions
What Camera Should I Buy as a Beginner Photographer?
Buying the right camera is an important investment for a photographer. First, you need to decide if you want a DSLR, mirrorless, or advanced compact. Then, you have to choose from a full-frame or cropped sensor.
Choosing your equipment can get quite complicated, but if you are a beginner looking to buy your first DSLR, an entry-level camera like the Nikon D3400 is a good pick. It comes with a good kit lens and takes great photos for an affordable DSLR.
What Should I Charge as a Beginner Photographer?
A lot of factors determine what you should charge for your photography services. Some important things to keep in mind are market rates, cost of running your business, cost of your equipment, and taxes. Read this article for a more detailed guide on setting your photography rates.
What Is Basic Photography?
For those beginning photography, exposure is key to capturing a great image.
Learning how exposure works will help you to take control of your camera and take better photos. Aperture, shutter speed, ISO are the elements that combine to create an exposure.
As you’ll soon learn, these elements have an effect on more than just the exposure. They also cause alterations in depth of field, motion blur, and digital noise.
You can read more about the basics of photography for a beginner here.
What Are the 3 Elements of Photography?
The three elements of photography are aperture, shutter speed, and ISO.
Aperture is the size of the opening that allows light to reach the sensor. The smaller the aperture, the darker the image, and the larger the depth of field.
Shutter speed is the amount of time the shutter is open. If the shutter speed is long, the image will be brighter.
ISO measures the sensitivity of the shutter. The higher the ISO, the brighter the image. However, a high ISO will also add noise to the image.
Conclusion
Buying a camera and deciding to advance your knowledge of photography is an important first step. However, with a subjective art like photography, there are some things you won’t find in the camera user manual.
Many photographers fall into the same trap of a few common mistakes. If you keep away from these 18 common mistakes, you will be able to take some great photos in no time!
Why not have a look at our full reviews of Photzy Snap Cards, PictureCorrects ‘The Photography Tutorial eBook’, or Digital Camera Mastery by Photography Pro!
source https://expertphotography.com/beginner-photographer-mistakes/



No comments:
Post a Comment