Still life photography is excellent for expressing your creativity. It can also make you money through stock photography or sales of art prints.
The great thing about still life photography is that you don’t need a fancy studio or a lot of space. To start, all you need is a table by a window.
What Is the Best Lens for Still Life Photography?
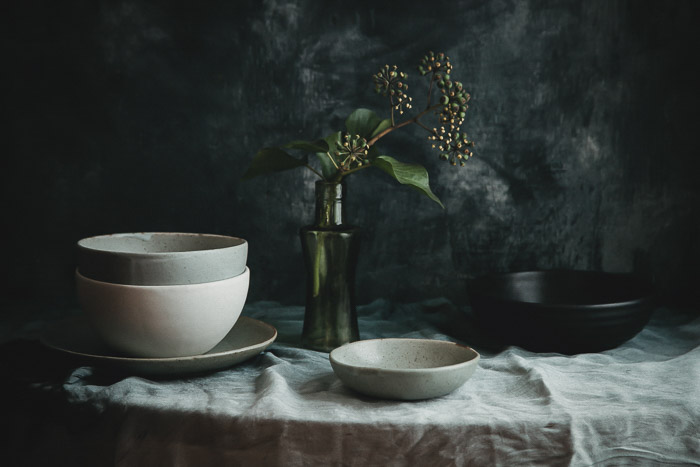
As with any genre of photography, having the right lens to suit the subject you are shooting is crucial. You don’t need a big assortment of lenses to do still life photography. A couple will do the trick.
If you’re shooting on a full-frame camera, I suggest starting with a 50mm. You can do flat lays and tablescapes, and straight-on shots with this lens.
When it comes to still-life photography, a 50mm lens is considered a wide-angle. If you’re only shooting one or two objects, or if your subject is small, there will be too much background in your shot. You’ll also have to get very close to your subject to get rid of what you don’t want in the shot.
The scale is an important aspect of still life photography. Some objects can look a lot bigger or taller to the camera. A lot of background in your shot can dwarf your subject.
To shoot still life straight-on, I recommend a 100mm macro lens. A macro lens isn’t just for tight, close-up shots. When you’re shooting with a longer lens, you only see the subject and the surface that it’s placed on. If you move farther back from your subject, it’s perfect for portrait style shots. I often shoot still life photos at 70mm or higher on my full-frame camera.
If you have the budget, then a 24-70 zoom lens is another great one to have in your kit. A zoom lens is not as sharp as a prime lens, but I have one in Canon’s L-Series, and it’s very sharp. It’s worth the hefty price tag.
If you’re serious about selling your still life photography, then you need sharp, high-resolution shots. This is where the more expensive lenses come in.
Use Lighting to Bring our the Best in Your Images
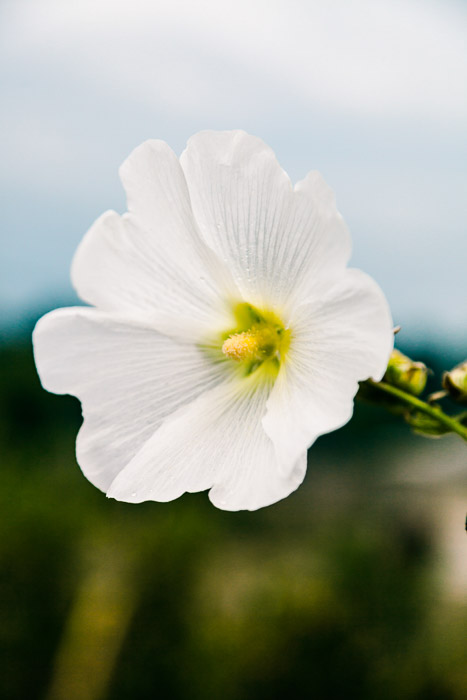
If you’re shooting product photography, you will need an artificial lighting system. For editorial style photography, natural light will do you fine.
You don’t need to invest in a lot of equipment right off the bat. In fact, you may never need to invest in a lot of equipment. It all depends on what your end goal is. There are excellent photographers who work with natural lighting in every genre.
The key to successful still life photography is learning how light works. Sculpting the light to do what you want is a skill.
When shooting straight-on, have your lighting coming from the left side, if possible. Having the light on the left helps lead our eye through the image. The eye is first attracted to lighter and brighter parts of the frame.
Do an experiment where you take a shot of a set-up with the light on your left. Then take another shot with the light coming from your right. Notice how the light affects your scene differently.
To get the most out of the natural light, be sure to work with reflectors and bounce cards. You will need to redirect some of the light back into your scene. Natural lighting, in particular, falls off quickly.
You can buy a 5-in-1 reflector kit that comes with gold, silver, black, and white reflectors. These usually come with a diffuser, which is key for softening hard or direct sunlight.
If you don’t have the budget for a diffuser, try hanging a sheer white curtain in front of your window. You can also buy some pieces of white and black cardboard or poster board. These are inexpensive and can help you shape the light to how you want.
Use a Tripod for Consistency
Working with a tripod is a must when it comes to still life photography. Still life is a slow and deliberate process of building and assessing.
You need to place your subjects onto your set. Assess your still life photography composition and how the light is hitting your scene, and make adjustments. Sometimes this means adding an element or taking it away and tweaking your still life composition.
Working with a tripod frees up your arms to work more carefully and efficiently. It also helps you maintain the same position from shot to shot. This is important if you’re working on a series of still life photos.
Be sure to move your tripod around and try shooting from different angles. Working with a tripod doesn’t mean you need to have it in the same place all the time. The great thing about hand-holding your camera is that it can be more freeing. Bring some of that same freedom into working with your tripod. Try different heights and angles. You can move around your set if need be, but just be sure not to cast a shadow onto your scene.
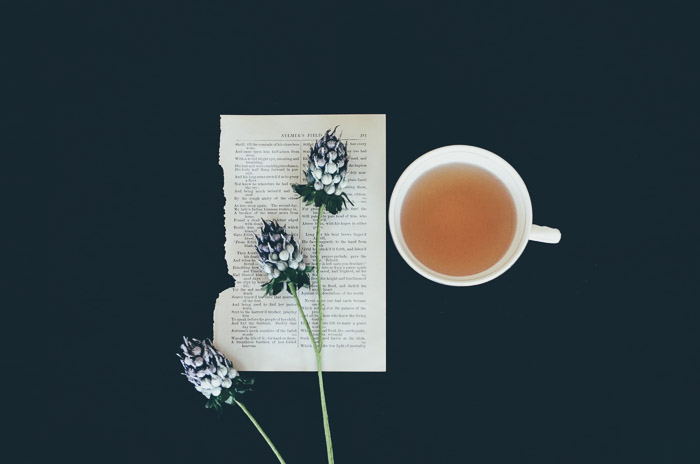
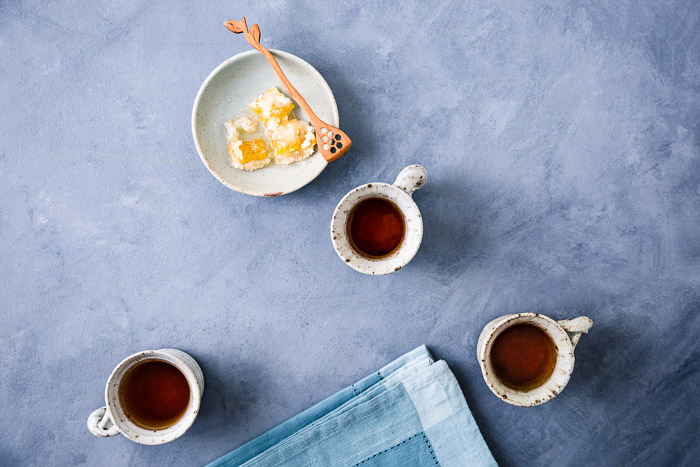
You can also get an extension arm for your tripod. This way, you can hang your camera over your set-ups for flatlays. Overhead shots have a more graphic quality. These are great for fitting several elements into a scene. The angle flattens everything and diminishes depth.
Having a shutter release is also useful. When photographing still life in natural light, you may have to use slower shutter speeds. Even when you’re on a tripod, pressing the shutter can create a minute vibration. This may introduce camera shake into your images and prevent them from looking sharp. A shutter release can prevent this. If you’re shooting tethered in Lightroom, you can also use the program to activate the shutter.
Find Unique Props for Still Life Photos
The right prop can enhance your still life photography ideas. You will already have many household items that can be used for props, such as old books, teapots, or glasses.
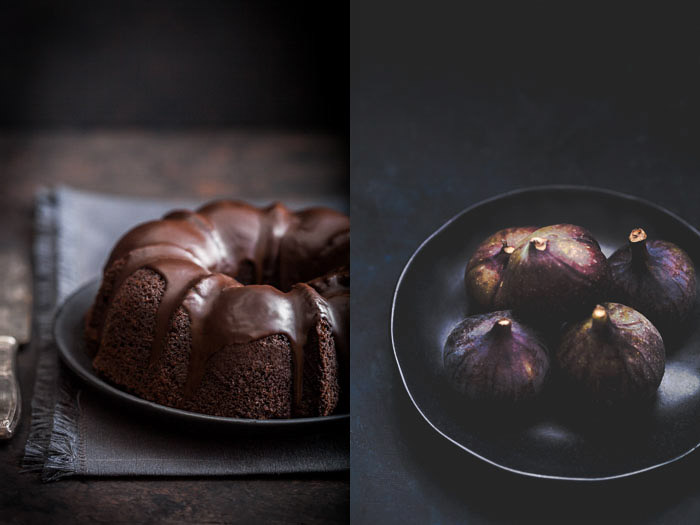
Even shots of antique cutlery or fresh vegetables can make nice still life shots – perfect for kitchen prints.
Look around your home and think about the items you have and how you can put a few together to make a story. Make sure that the props you use work together visually. For example, if you’re doing a vintage look, keep everything vintage looking. Don’t use shiny flatware in rose gold alongside an antique silver tray. It may look pretty, but visual storytelling is not all about creating something beautiful. You also need to be cohesive.
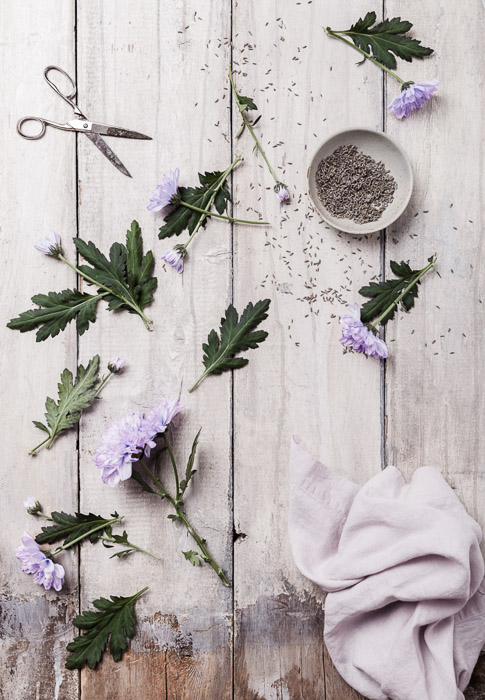
Flowers can be considered a prop and add a beautiful touch to flatlays or lifestyle-based photography. They can be photographed on their own to create beautiful floral still life pictures.
Think about texture and colours when choosing your props. I recommend that most of your props be neutral. They will work together for many shots, and you can get a lot of use out of them. Sometimes if a prop is too colourful it can draw the eye away from the main subject.
Shiny items can be quite problematic in still life photography. Product photographers can take a whole day to get one decent shot of a shiny kitchen appliance. This is because the shine reflects all the surroundings.
These reflections take time to manage and can be difficult. You might have already noticed this if you have shot cutlery or glassware of any sort. There is a product on the market by Krylon called “Dulling Spray” that can be found at craft stores. You can spray it on these items to reduce the glare. Keep in mind that doing so makes these items no longer food safe. Personally, I keep my props separate from my everyday kitchen items.
Use the Right Background
Whether you’re shooting from overhead or straight on, you will need a proper background for your still life photography. There are companies that sell professional backgrounds for food and still life photography. You can also make your own with a bit of elbow grease and ingenuity for a fraction of the price.
This is another area where you can unleash your creativity. The possibilities are endless. One of my favourite backgrounds for still life photography are pieces of painted canvas. You can buy a large canvas painter’s drop cloth and some paint samples from the hardware store. These create backdrops with a beautiful and subtle texture. They are inexpensive and can be rolled up and stored away easily.
You can also buy sheets of pine wood or laminate and paint them. Search online for “paint effects” to give you ideas about textures and colour combinations you can use.
I’m partial to a concrete look, or three or four colours layered on top of one another. Thin pieces of wood can be painted and placed together. It mimics the look of a picnic table, as in the image above.
It’s best to use backgrounds in neutral or subtle colours that will not overpower your subjects. It will also mean that your backgrounds can be used in many ways.
Black, white and greys are good choices, as well as brown and shades of blue that are not too bright.
Plan Your Shoot
Photography can get technical. We sometimes lose sight of the artistic side.
Take your time to think about the visual story you want to tell and the best way to execute it. I like to do sketches and keep all of my photo ideas written down in a book.
Having a rough idea in your head of what you want your final image to look like. A certain vision may mean sourcing or purchasing props or fabric, or botanical elements. Another fun approach is to grab a few random items. See if any of them work together to create a visual story! But again – keep it cohesive.
Implement Compositional Theory to Still Life Photos
The rules of composition are not really rules; they’re more like guidelines to help you take better pictures. Art is highly subjective. A picture can still be amazing even if it doesn’t fall into a prescribed aesthetic.
That said, the best photographs usually do follow compositional theory in some way, whether it’s intentional or by accident. Take the time to study composition for still life photography ideas. Artbooks are particularly good for this. Still life photography is a genre which closely follows painting.
When it comes to composition, a particularly useful concept to get intimately familiar with is the Golden Ratio. This is a mathematical concept that expresses a phenomenon of symmetry found in nature. When implemented in art and design, it helps create compositions that are pleasing to the eye.
Several post-processing programs have compositional grids that express the Golden Ratio. You can overlay these on your still life photo to help your cropping. Or even use them in creating your compositions if you’re shooting tethered.
Remember that colour is also an important aspect of still life composition. Refer to the colour wheel to help you plan your colour schemes. Colours that are opposite on the colour wheel, like blue and orange, are complementary colours.
Colour can also be an important part of your still life photography style. If you look at the most popular accounts on Instagram, you’ll see that most have a consistent colour palette.
Develop Your Eye
Evocative still life photography depends on a strong aesthetic. The more you do something, the better you get at it. This is true with photography. Practice is important.
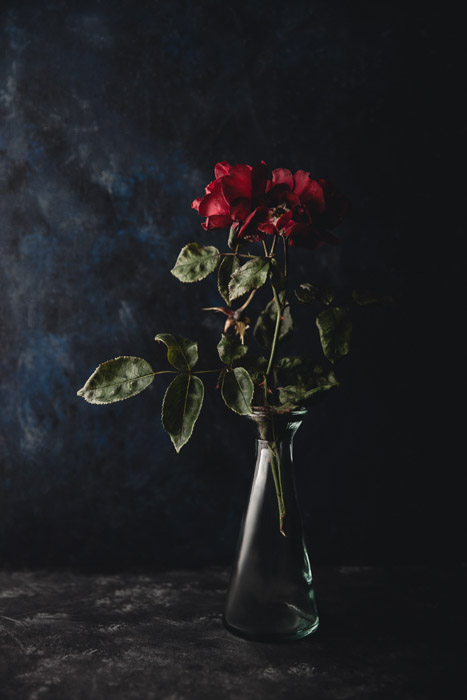
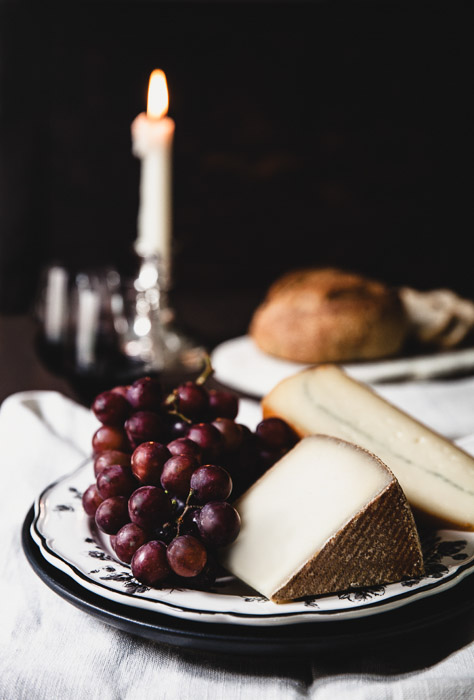
Observe the textures in the world around you. Study the paintings of the Old Masters. Notice the lighting in the works of Vermeer and Caravaggio, or the compositions of Cezanne.
Studying the form, colours, and various shades used in still life painting will help you enormously in your still life photography. Becoming visually fluent involves constant and careful observation.
Get Creative With Editing
Adobe Lightroom can give you all you need to make unique and beautiful still life photos.
I don’t recommend them for food shots, but Lightroom presets or Photoshop actions can be useful to create a workflow. This will cut down on the time that you spend in front of the computer.
If you’re working in Lightroom with some presets you like, study the settings to understand how they affect elements of the image. Presets can also be a great starting point that you can tweak to your individual taste and aesthetic. We have a great article on using for focus stacking for still life photography you can check too.
Post-processing your still life shots can be quite involved, depending on what genre of still life you’re shooting. Editing food requires subtlety to keep it looking appetising and real. But florals or images suitable for art prints allow you to get really creative with your colours and tones.
To learn more about Lightroom, try our Effortless Editing course.
Conclusion
The most important thing to remember is to take your time! Still life photography is not something to undertake while the clock is ticking.
I find that when I’m in a rush or just shooting to get it done, my flow is off and my pictures don’t turn out the way I want them to. Set aside enough time to work your angles and play around with your still life photography ideas.
When in doubt, keep it simple. Sometimes the most beautiful compositions are the most minimal.
Looking for some creative still life ideas? Check out our water splash photography tutorial for fun food photos!
source https://expertphotography.com/ten-tips-still-life-photography-ideas/


No comments:
Post a Comment